
The Journal · 9 min read
How to Assemble Wedding Invitations: Stacking Order, Vellum, Ribbon and Wax Seals, Step by Step
By Beth, founder of Graceful Studio · Updated
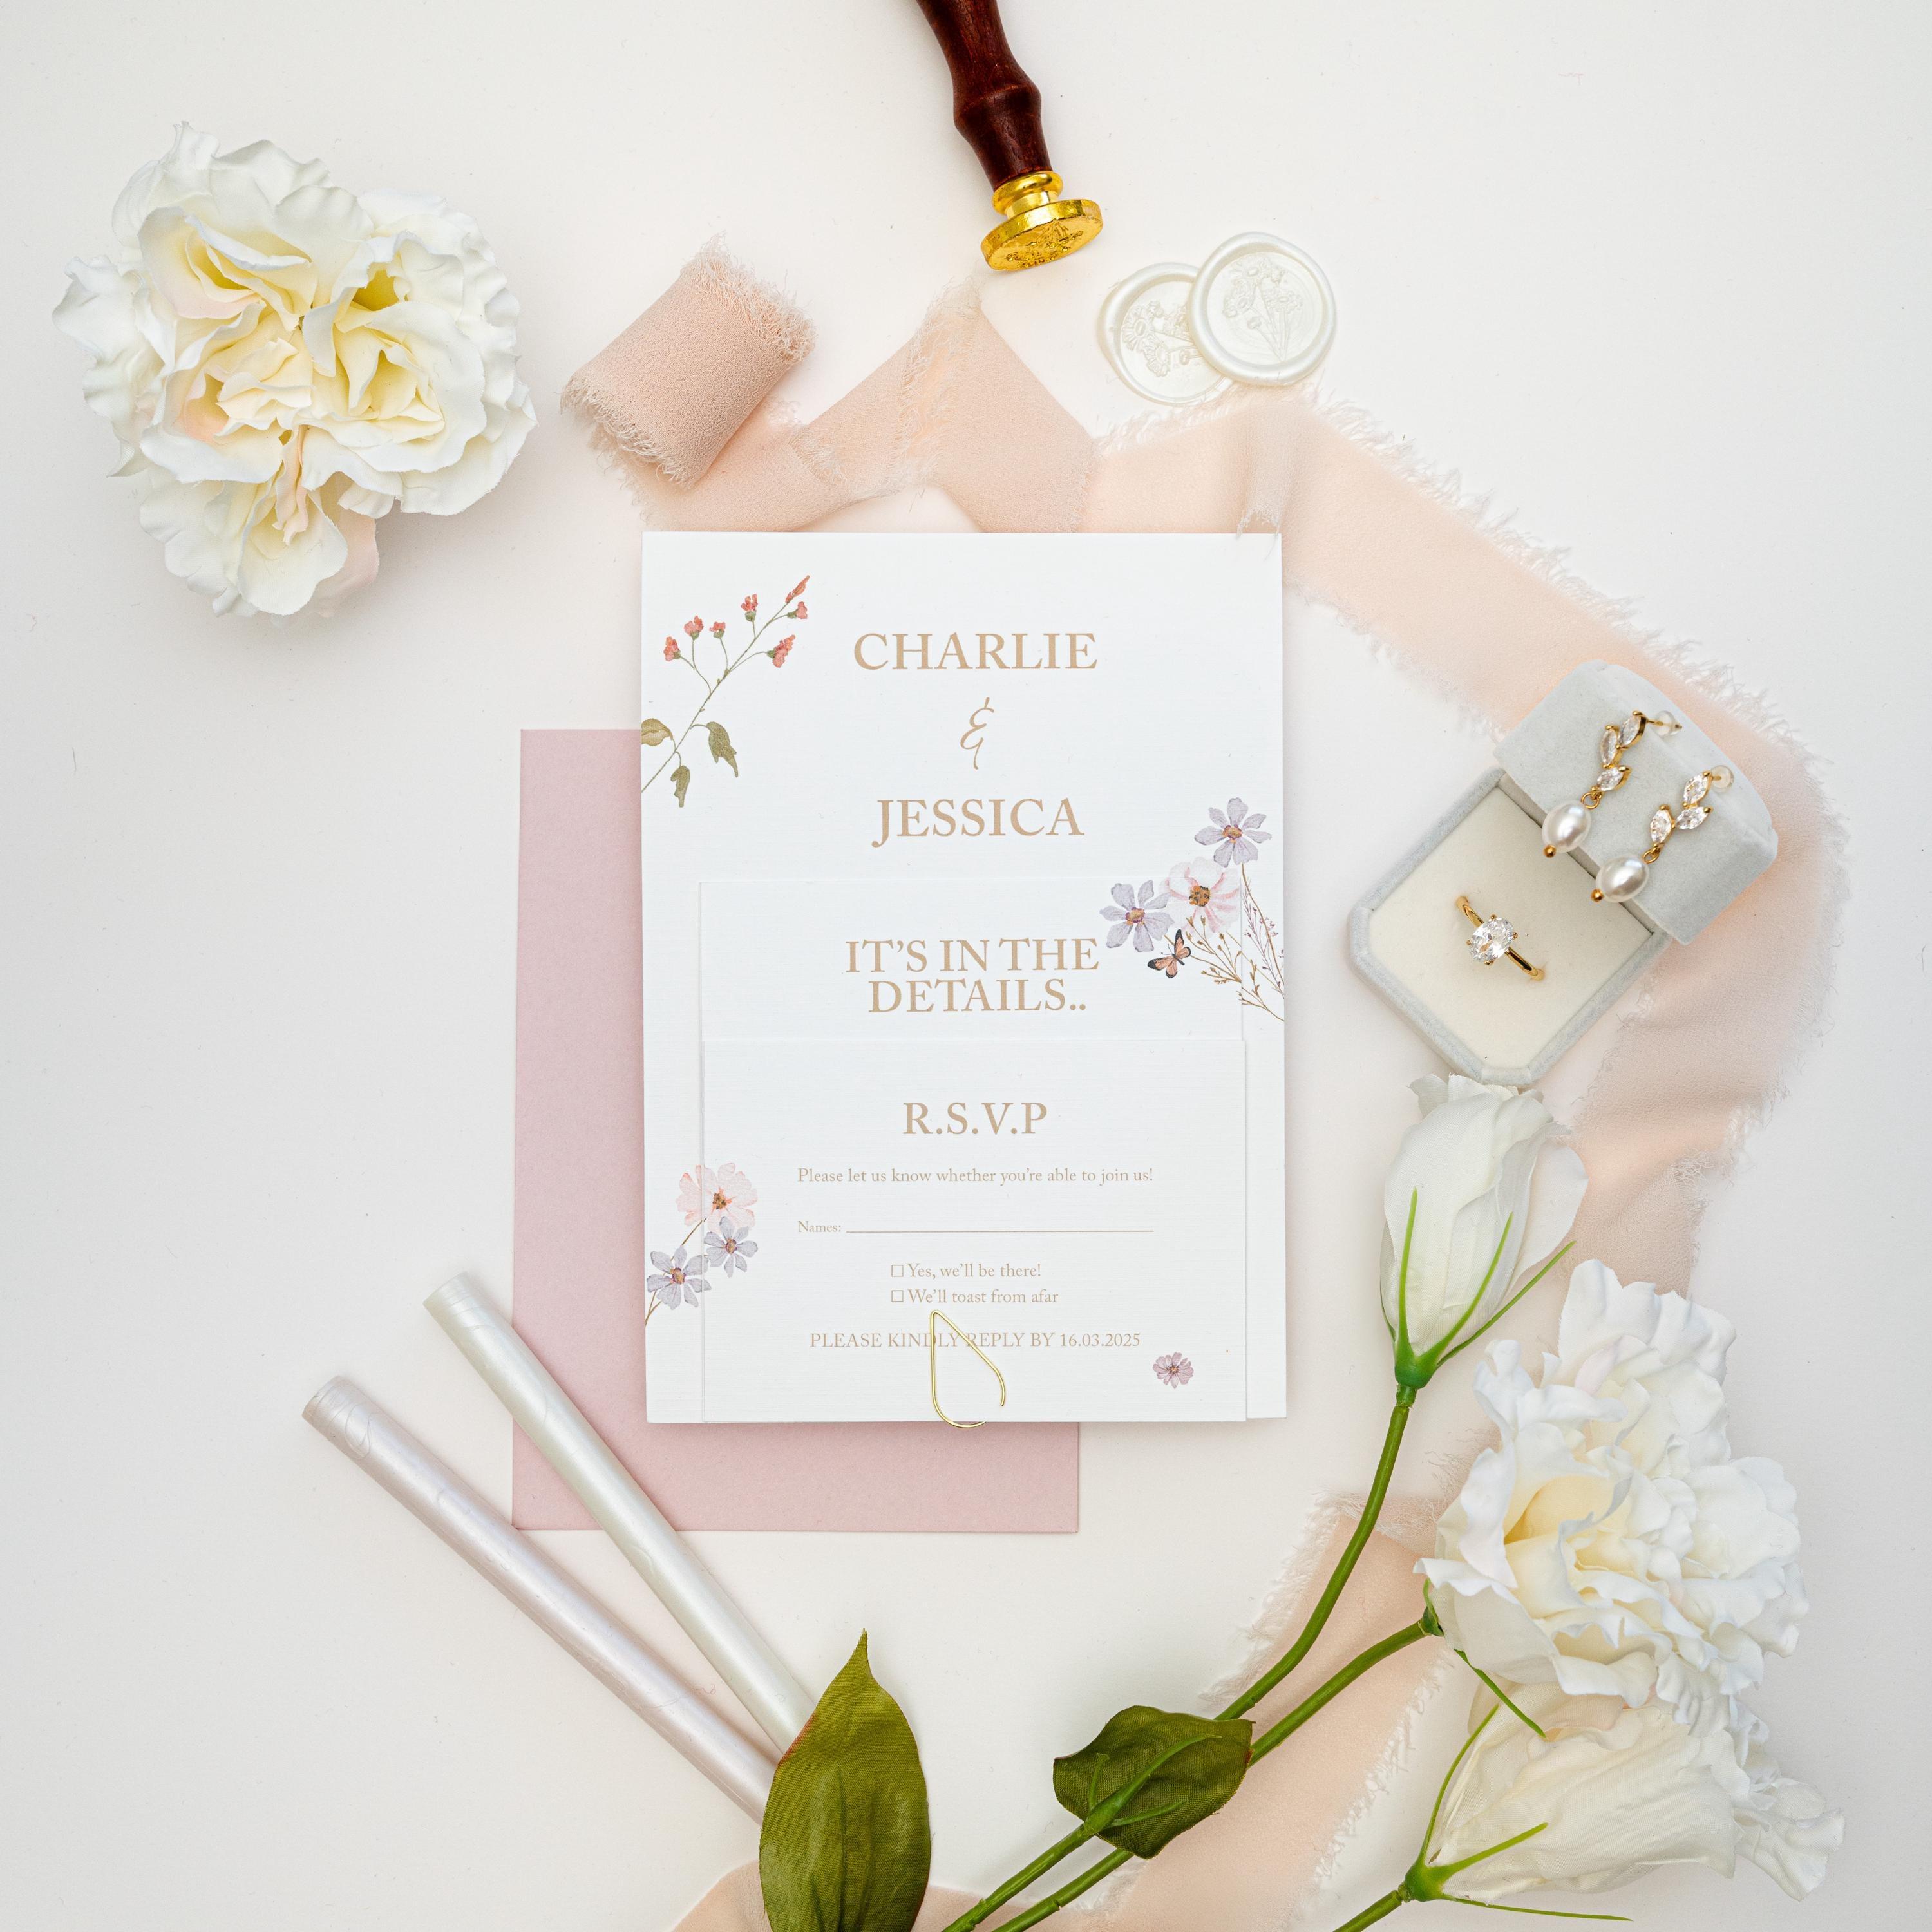
Knowing how to assemble wedding invitations properly makes the difference between a stack of cards and a suite that feels like a gift when it’s opened. The good news: there’s a simple order to follow, and once you’ve made the first one, the rest is a rhythm. This guide covers the stacking order, which way the cards face, vellum, ribbon, wax seals, RSVP cards and the envelope, plus how long it all takes.
First, a choice. Our invitations can arrive assembled for you, with the cards stacked, the ribbon tied and the seal in place, or as separate pieces if you’d love to put them together yourself. Just let us know which you’d prefer when you send over your details. If you’re weighing it up, the table below should help.
Assemble them yourself, or let us do it?
| Assemble yourself | Assembled by us | |
|---|---|---|
| Time | A few minutes per invitation, so a few evenings for a full set | Very little. The suite arrives put together, ready for addressing and posting |
| Best for | Couples who enjoy a project, or want to add something personal | Busy couples, large guest lists, or anyone who’d rather not tie 60 bows |
| Finish | As neat as your patience allows | Consistent from the first invitation to the last |
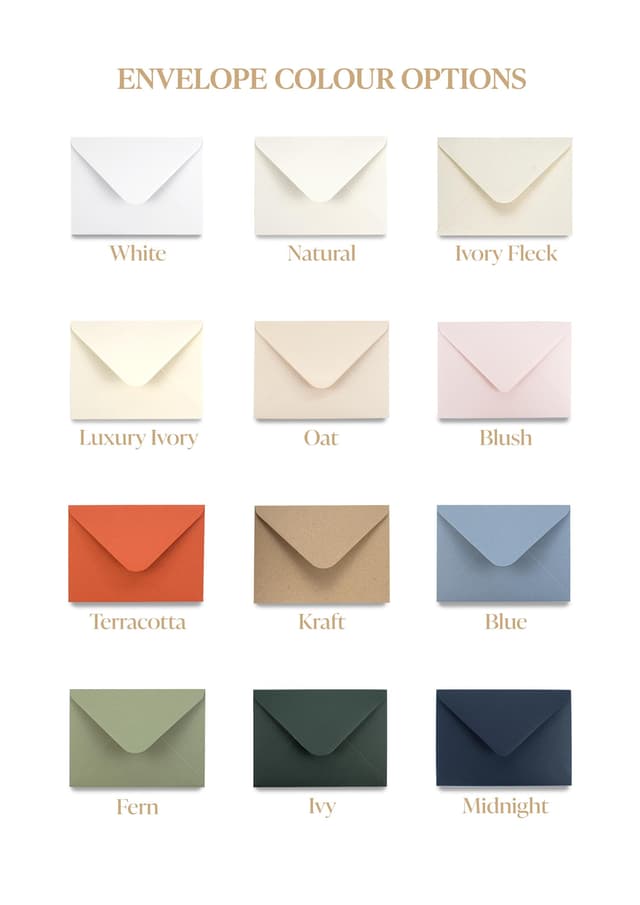
| Flexibility | You can tweak the order or add a note to individual guests | Choose your ribbon, seal and envelope colours when you order |
Ordering assembled? Skip ahead to posting. Putting them together yourself? Read on.
What you’ll need
- A large, clean, dry table, cleared of drinks and anything greasy.
- All your printed pieces, counted, with the proof beside you to check against.
- Sharp fabric scissors for ribbon (paper scissors fray it).
- A ruler or a pre-cut ribbon template, so every piece is the same length.
- Wax seals, plus a wax melter or glue gun and a stamp if you’re pouring traditional wax.
- A damp sponge or envelope moistener for gummed envelopes. Please don’t lick 60 of them.
- Your guest list with addresses, in the same order as your envelopes.
- Stamps, once you’ve checked the size and weight of a finished invitation.
- Optional: cotton gloves for vellum, a bone folder for crisp folds.
The stacking order for wedding invitations
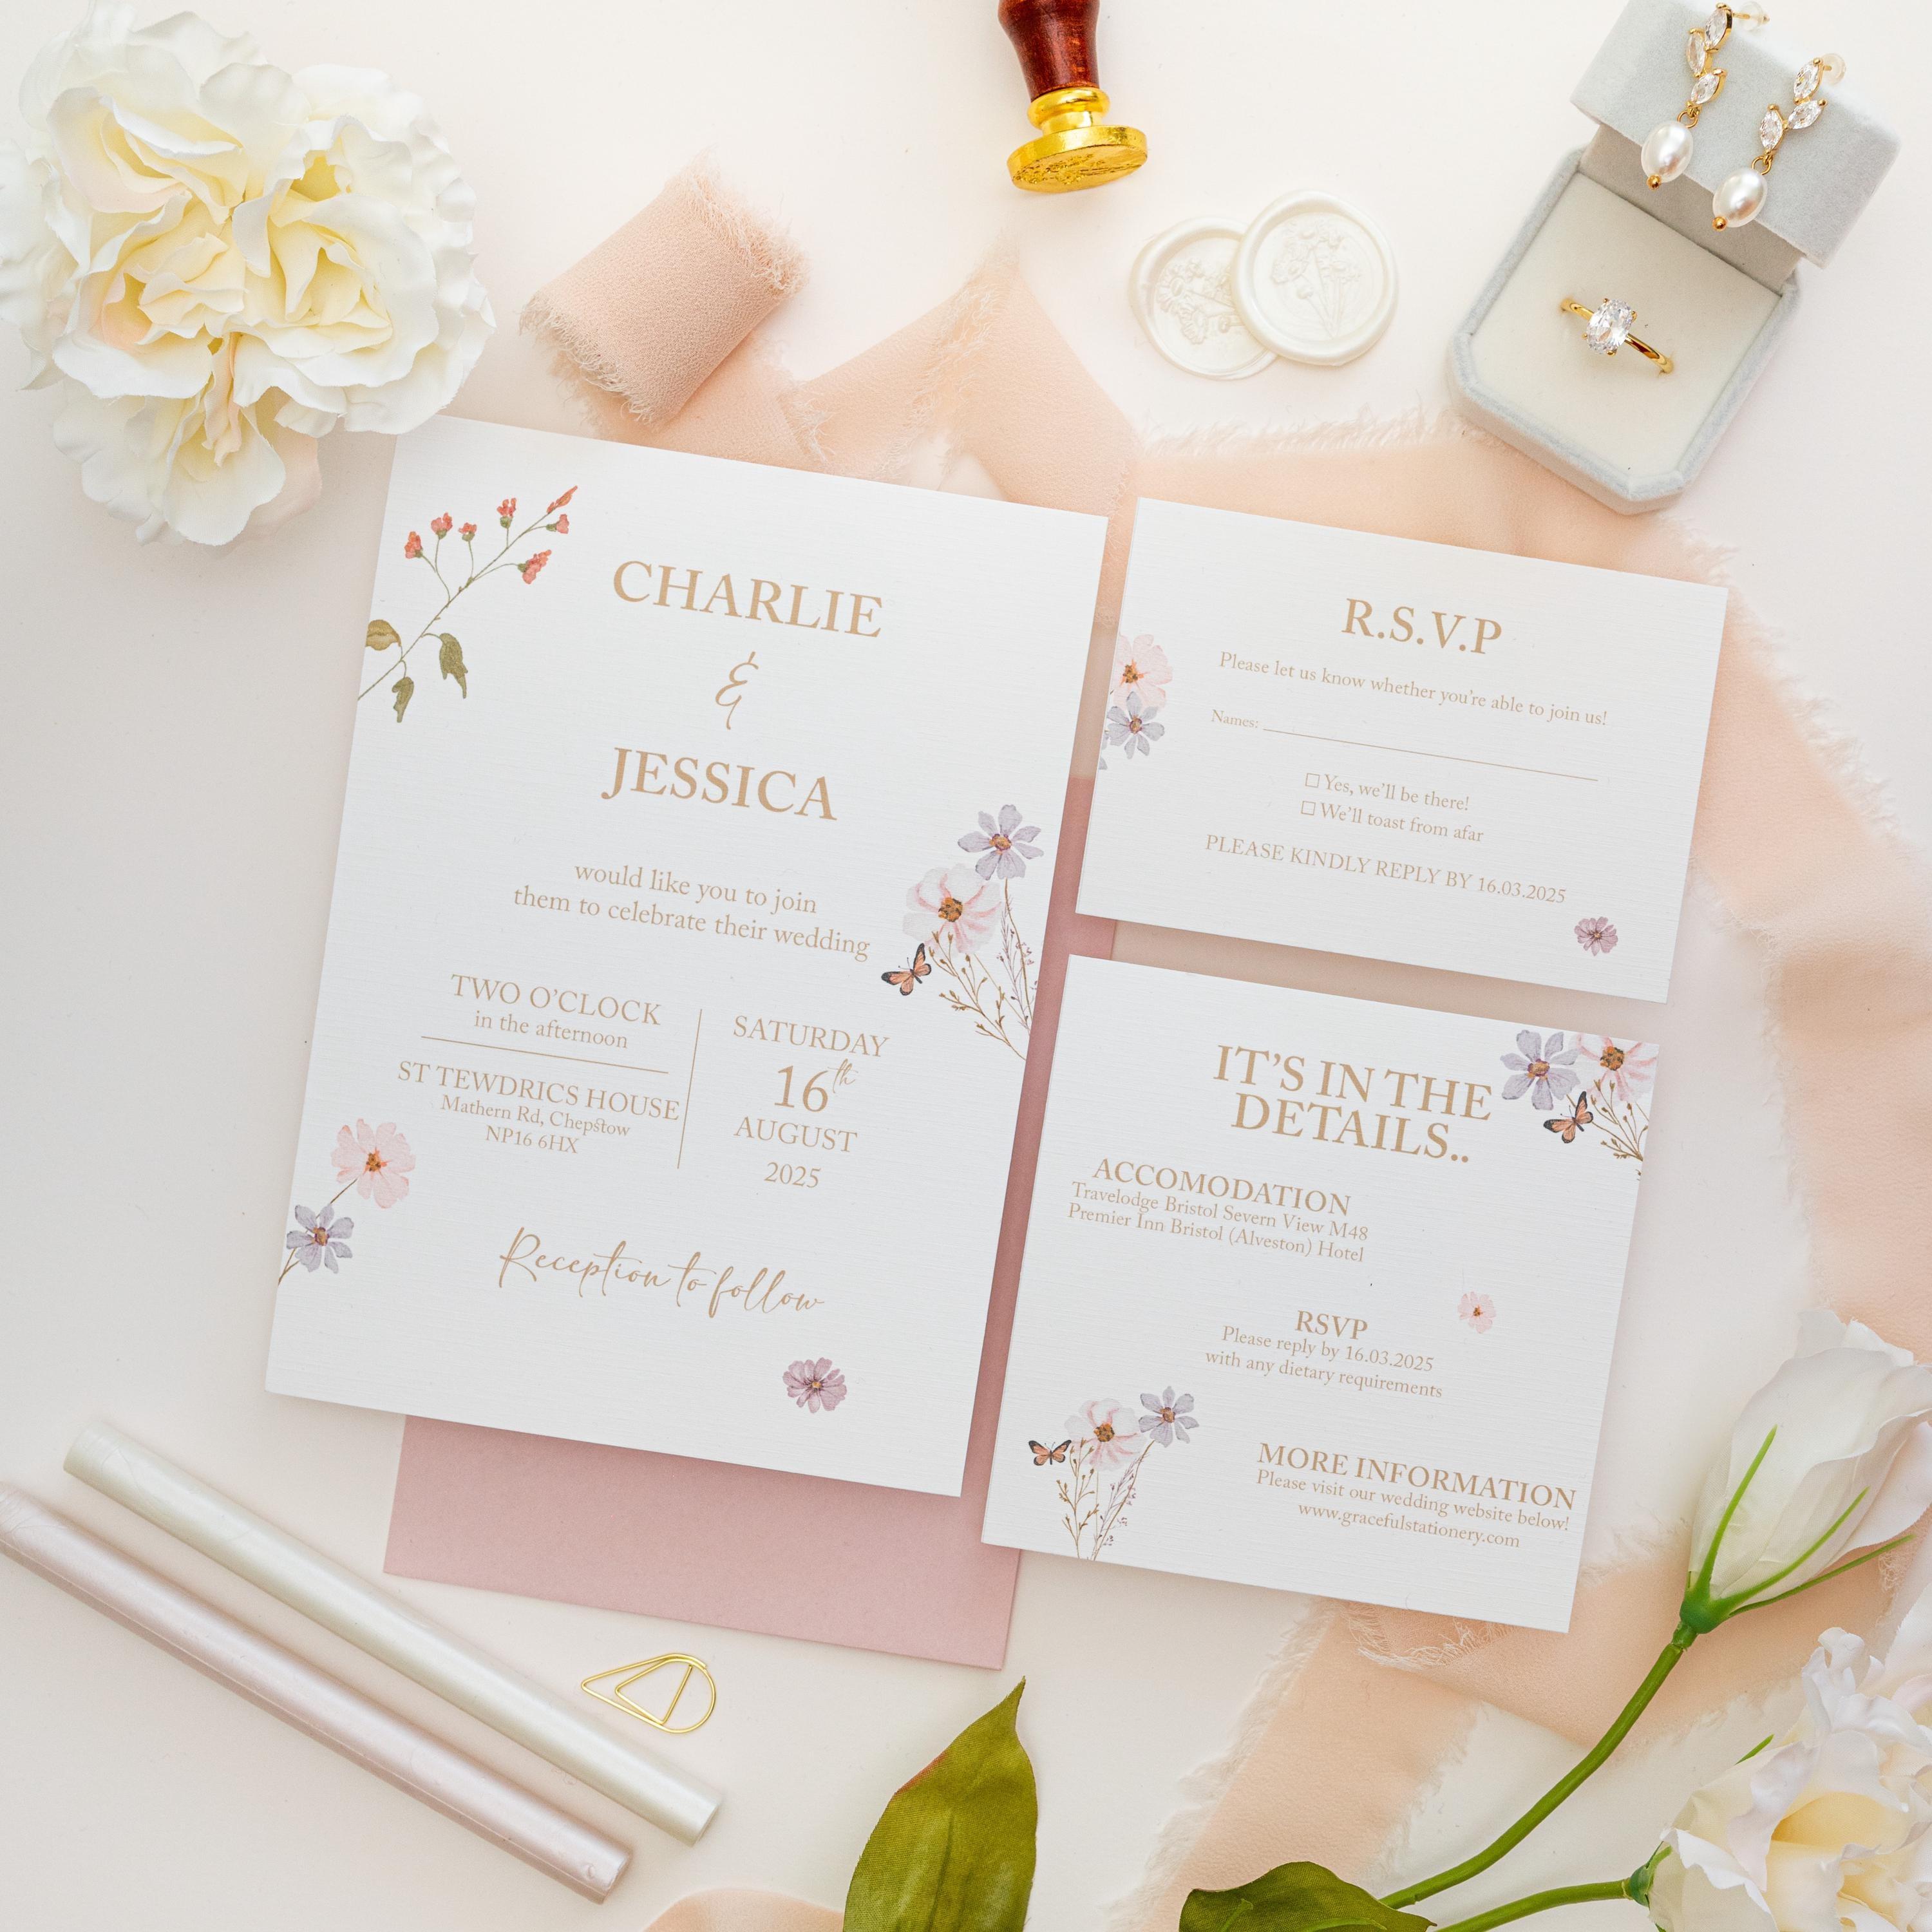
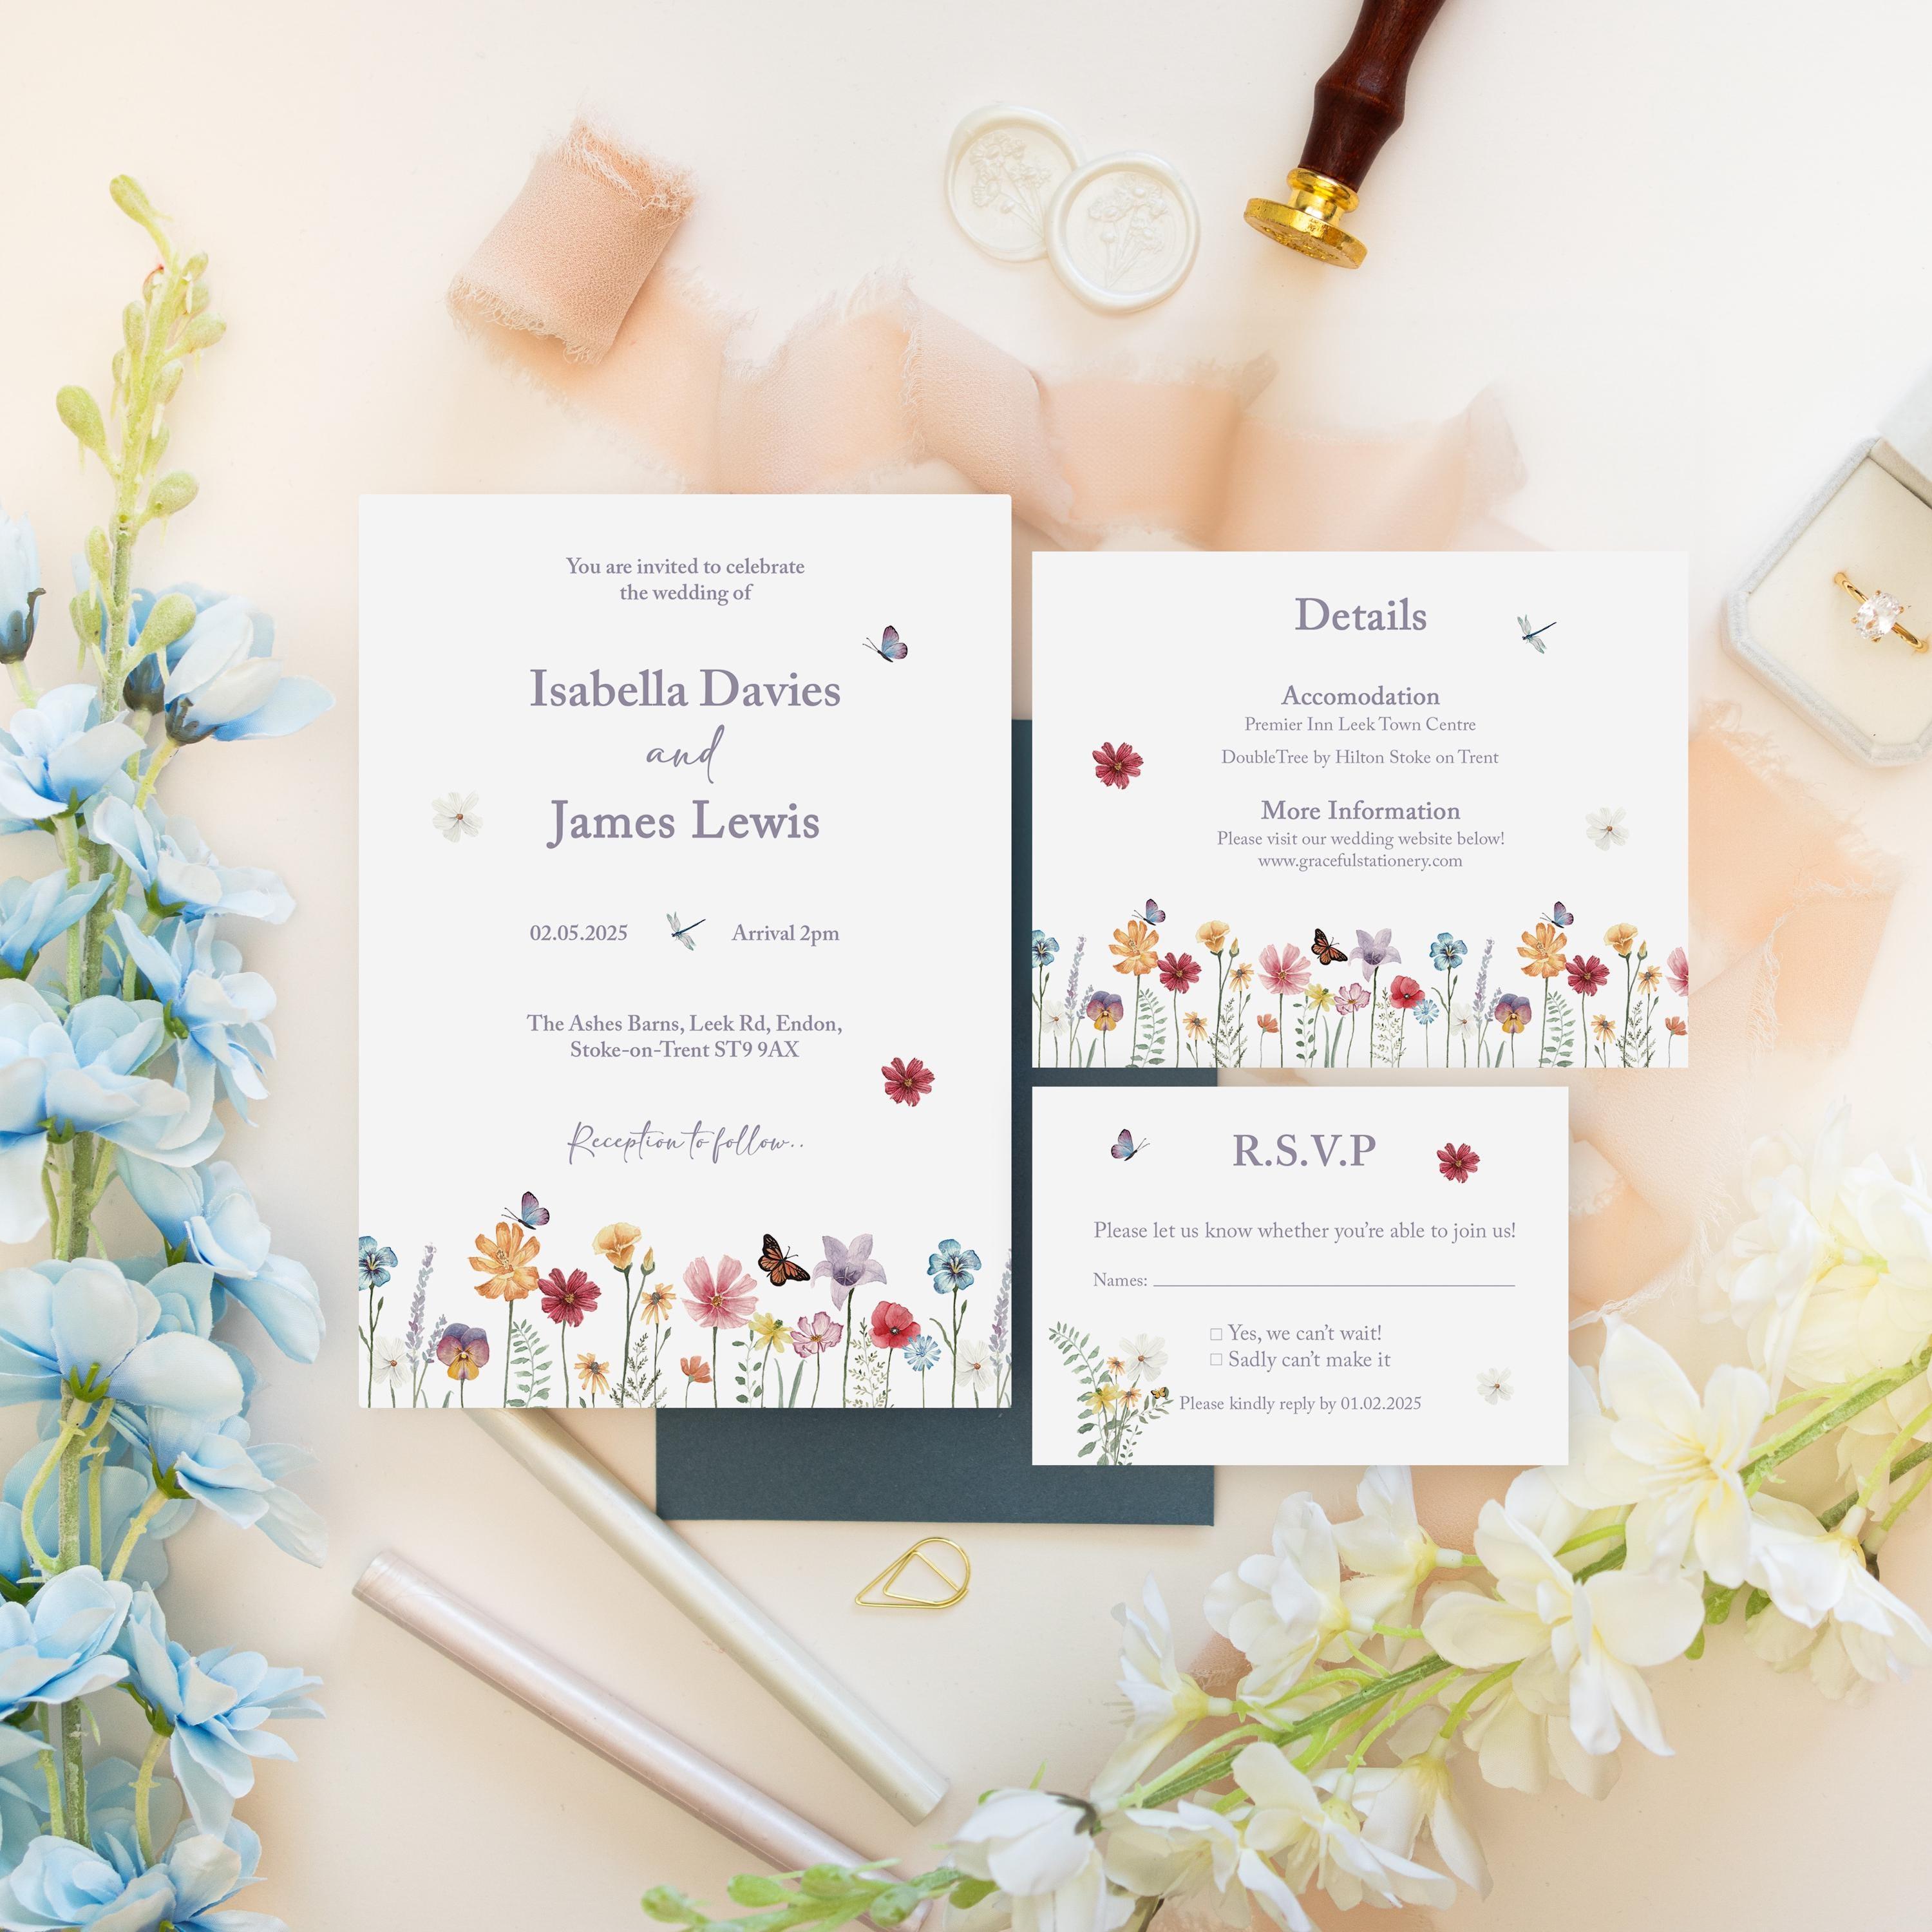
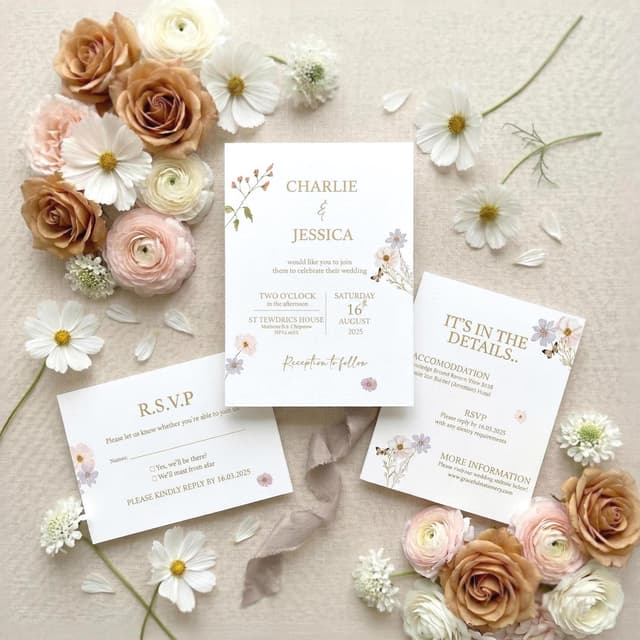
What order do wedding invitations go in? The simple rule is largest at the back, smallest at the front, all facing up, so that when your guest lifts the stack every card is visible at once. With our suites, that looks like this:
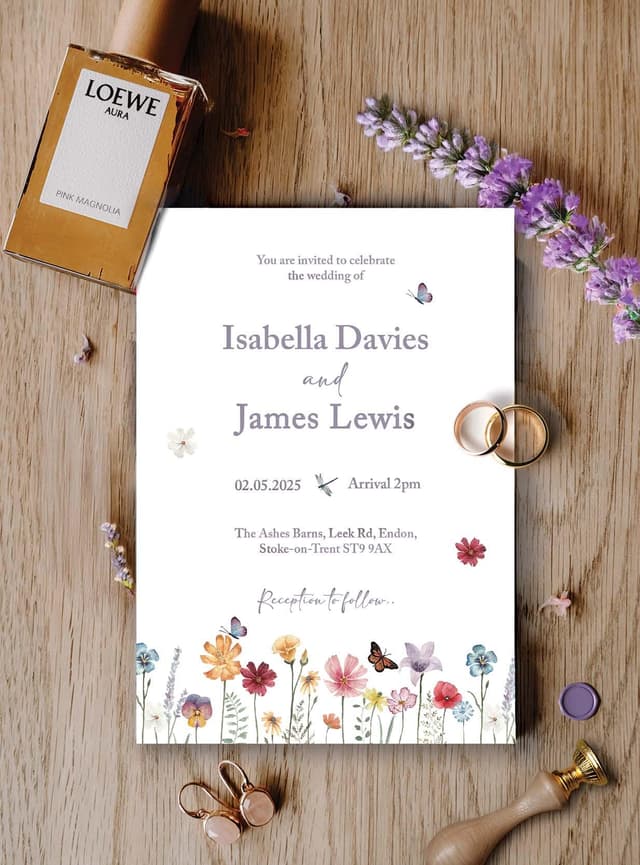
- The invitation (5×7 inches) at the back, face up.
- The details or enclosure card (120 mm square) on top of it.
- The RSVP card (A7, 105 × 74 mm) at the front, with its return envelope behind it or the card tucked under the envelope flap.
If you have more enclosure cards, such as a map or an evening schedule, slot them between the invitation and the RSVP card in size order. Some stationers put the invitation on top instead, with the inserts tucked behind it; it’s equally correct. What matters is choosing one order and repeating it for every guest. Not sure what belongs on each card? See our guides to the details card and RSVP wording.
Which way should the cards face?
All the same way: face up, top edges aligned, text reading the right way round. Square the stack by tapping the bottom edge gently on the table, then centre the smaller cards so there’s an even border showing on the invitation.
Does the RSVP card go in front of the invitation?
In a stacked suite, yes: it’s the smallest card, so it sits at the front where it’s easy to find. Address the RSVP envelope to yourselves and, if you’d like replies by post, stamp it too. Guests are far more likely to reply on time when all they have to do is tick and post.
How to assemble wedding invitations, step by step
- Check every piece against your proof and count them. It’s much easier to spot a missing RSVP card now than after the envelopes are sealed.
- Set up a production line: one pile per card type, left to right in stacking order, with ribbon, seals and envelopes at the end.
- Prepare the RSVP envelopes first: address them to yourselves and add stamps if you’re including them.
- Stack the cards largest to smallest, face up, and square the edges.
- Secure the stack with a clip, ribbon, belly band or vellum wrap (details below).
- Add the wax seal, over the ribbon knot or where the vellum meets.
- Make one complete invitation and weigh it before going any further.
- Insert into the envelope so it faces your guest when opened, then seal it.
- Address and stamp the outer envelope.
How to assemble wedding invitations with vellum
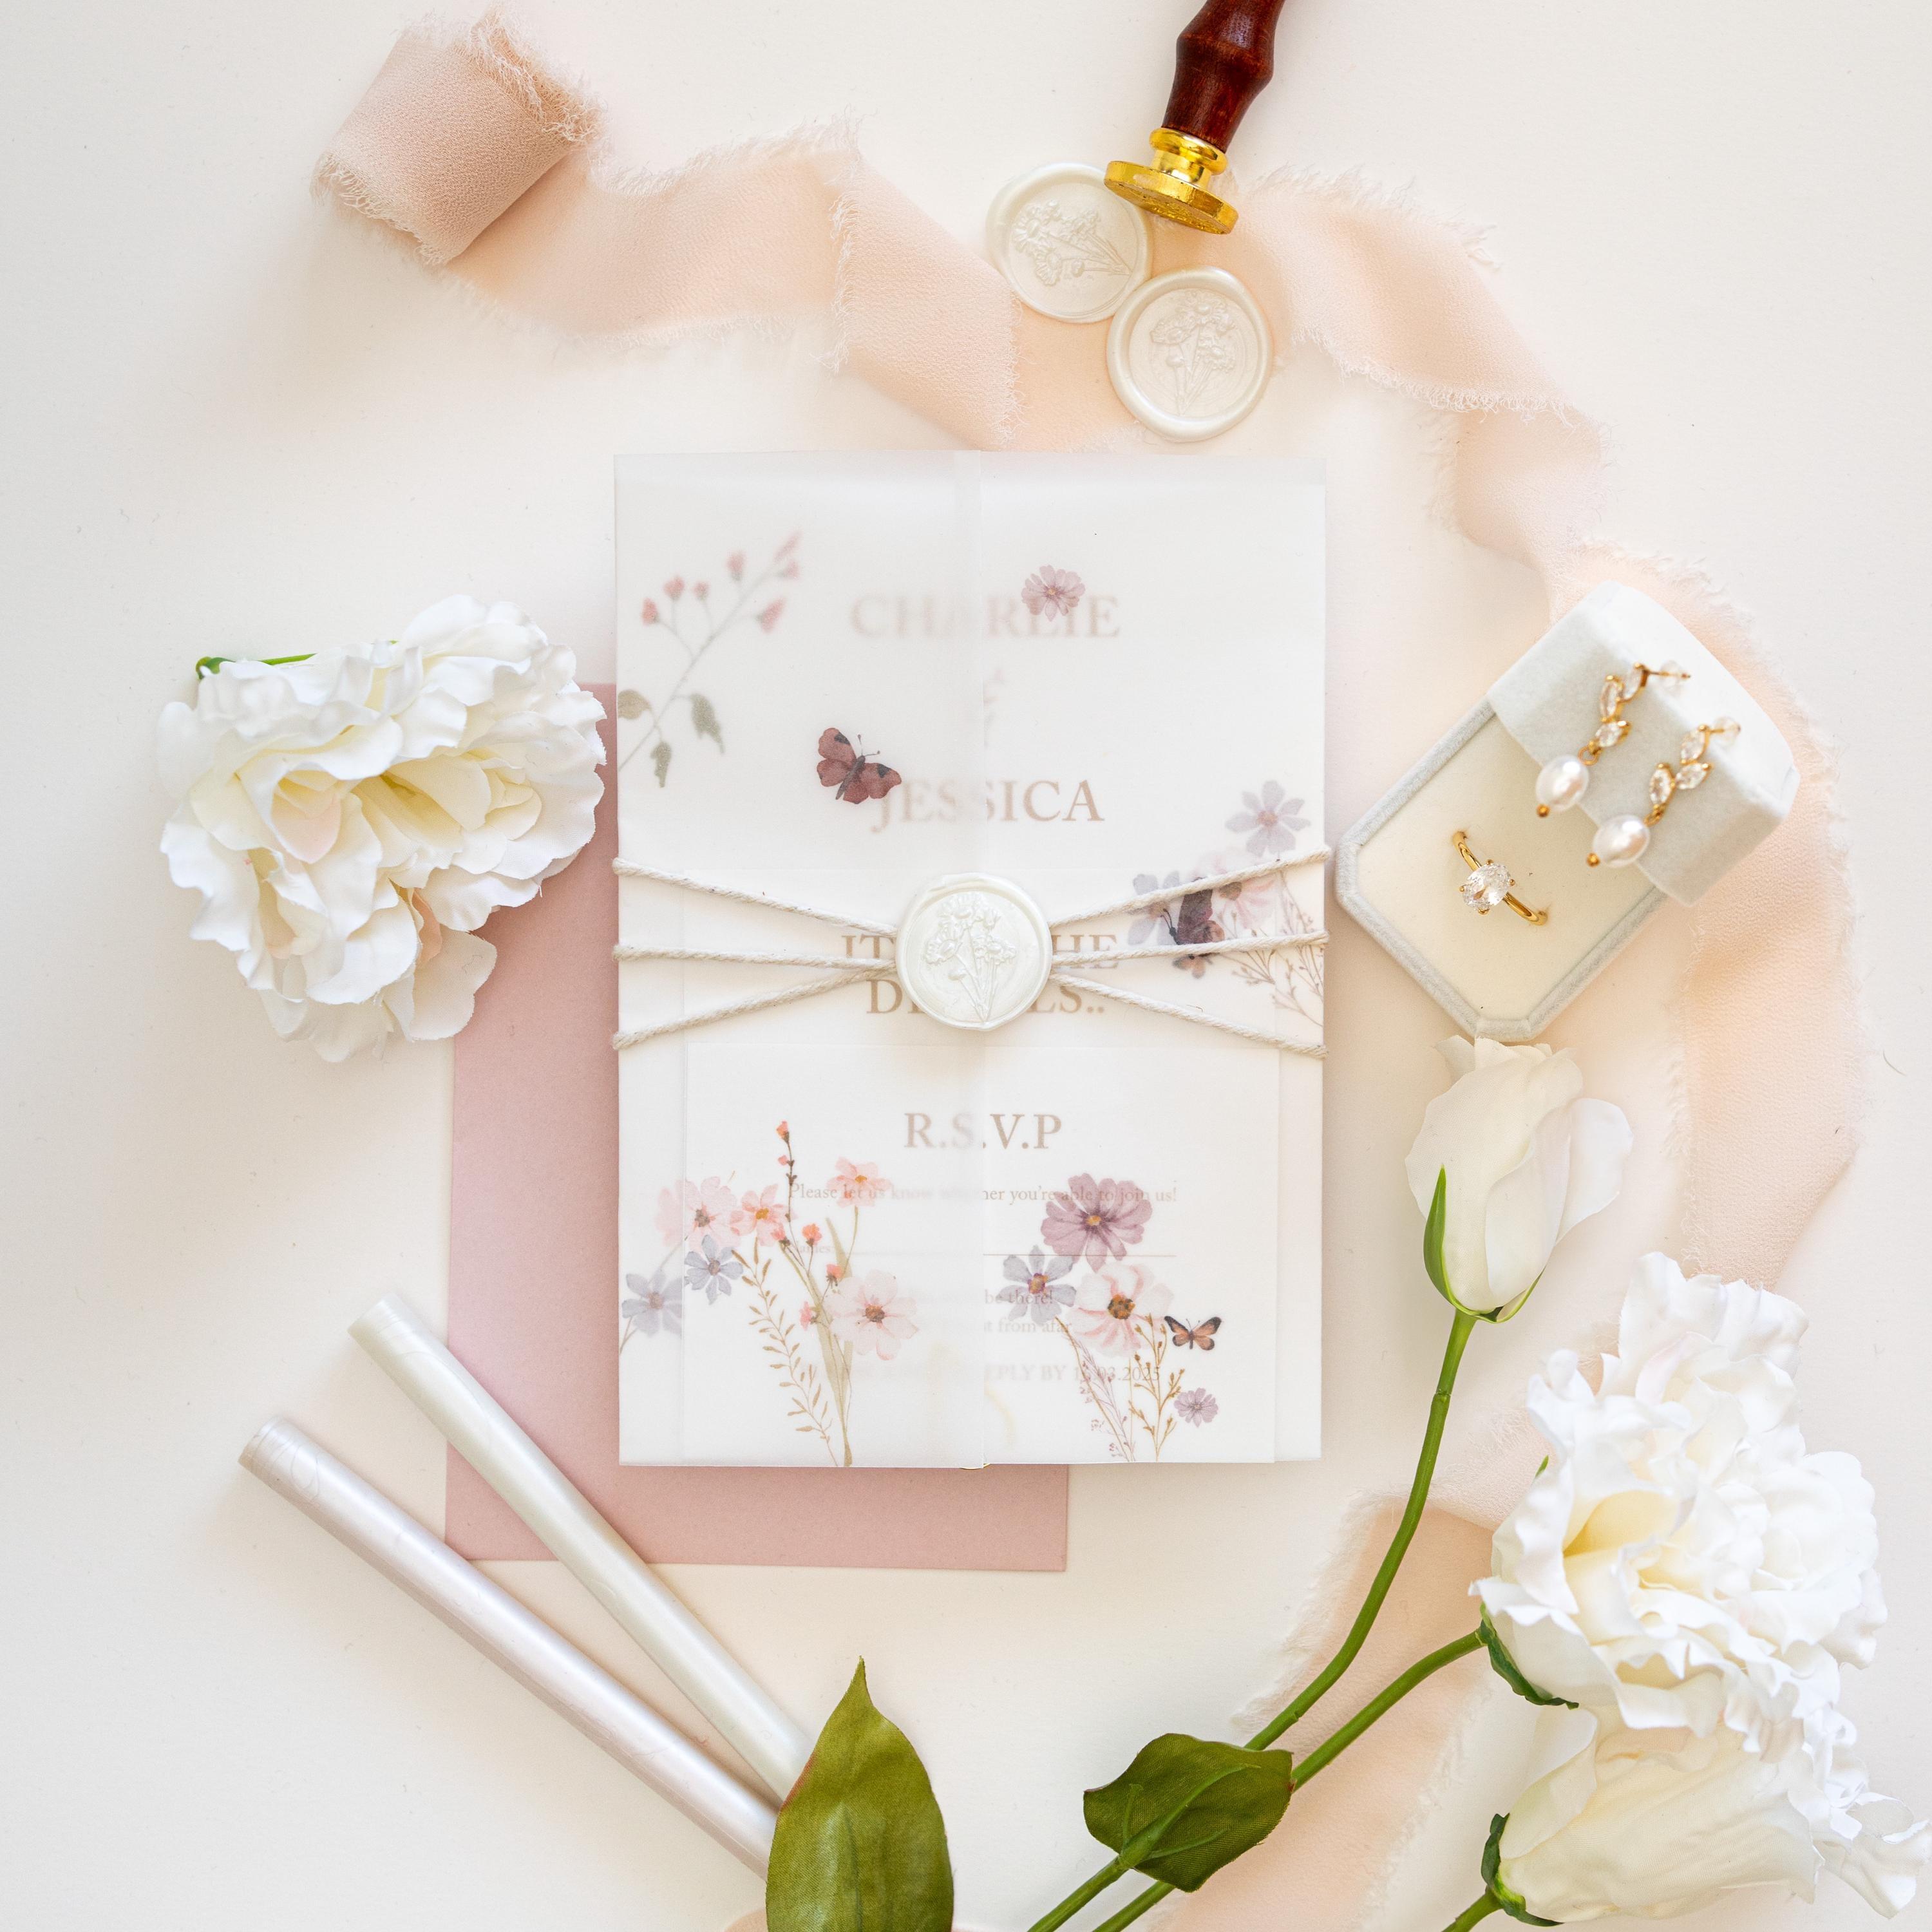
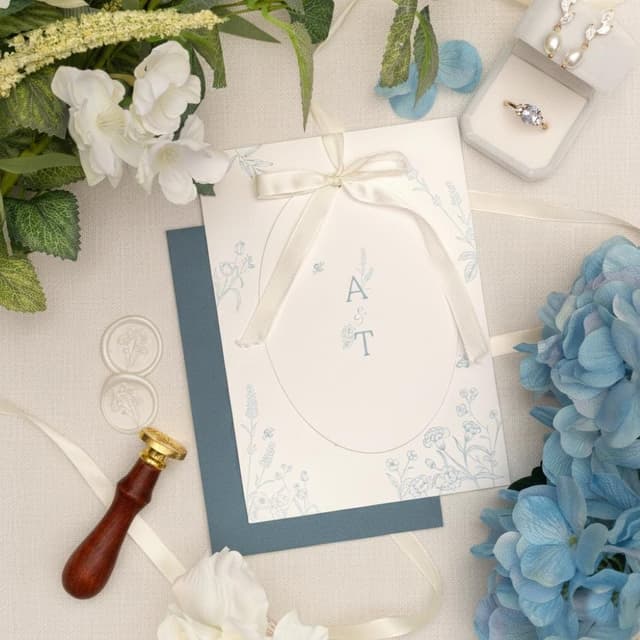
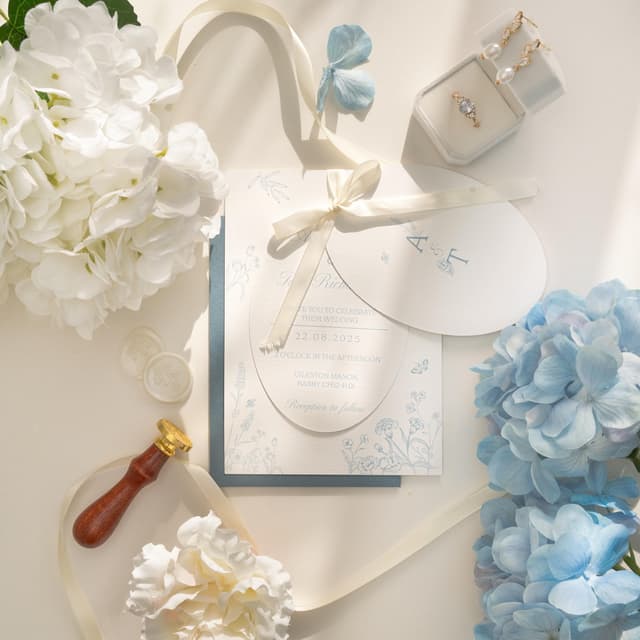
Lay the vellum jacket flat, place your squared stack in the centre, and fold the sides in so the edges meet (or overlap slightly) at the front. Run a finger lightly along each fold rather than pressing hard, as vellum creases easily. Hold it closed with twine, ribbon or a belly band, then add the wax seal where the edges meet. Handle vellum by its edges with clean, dry hands, because fingerprints show.
How to assemble wedding invitations with ribbon
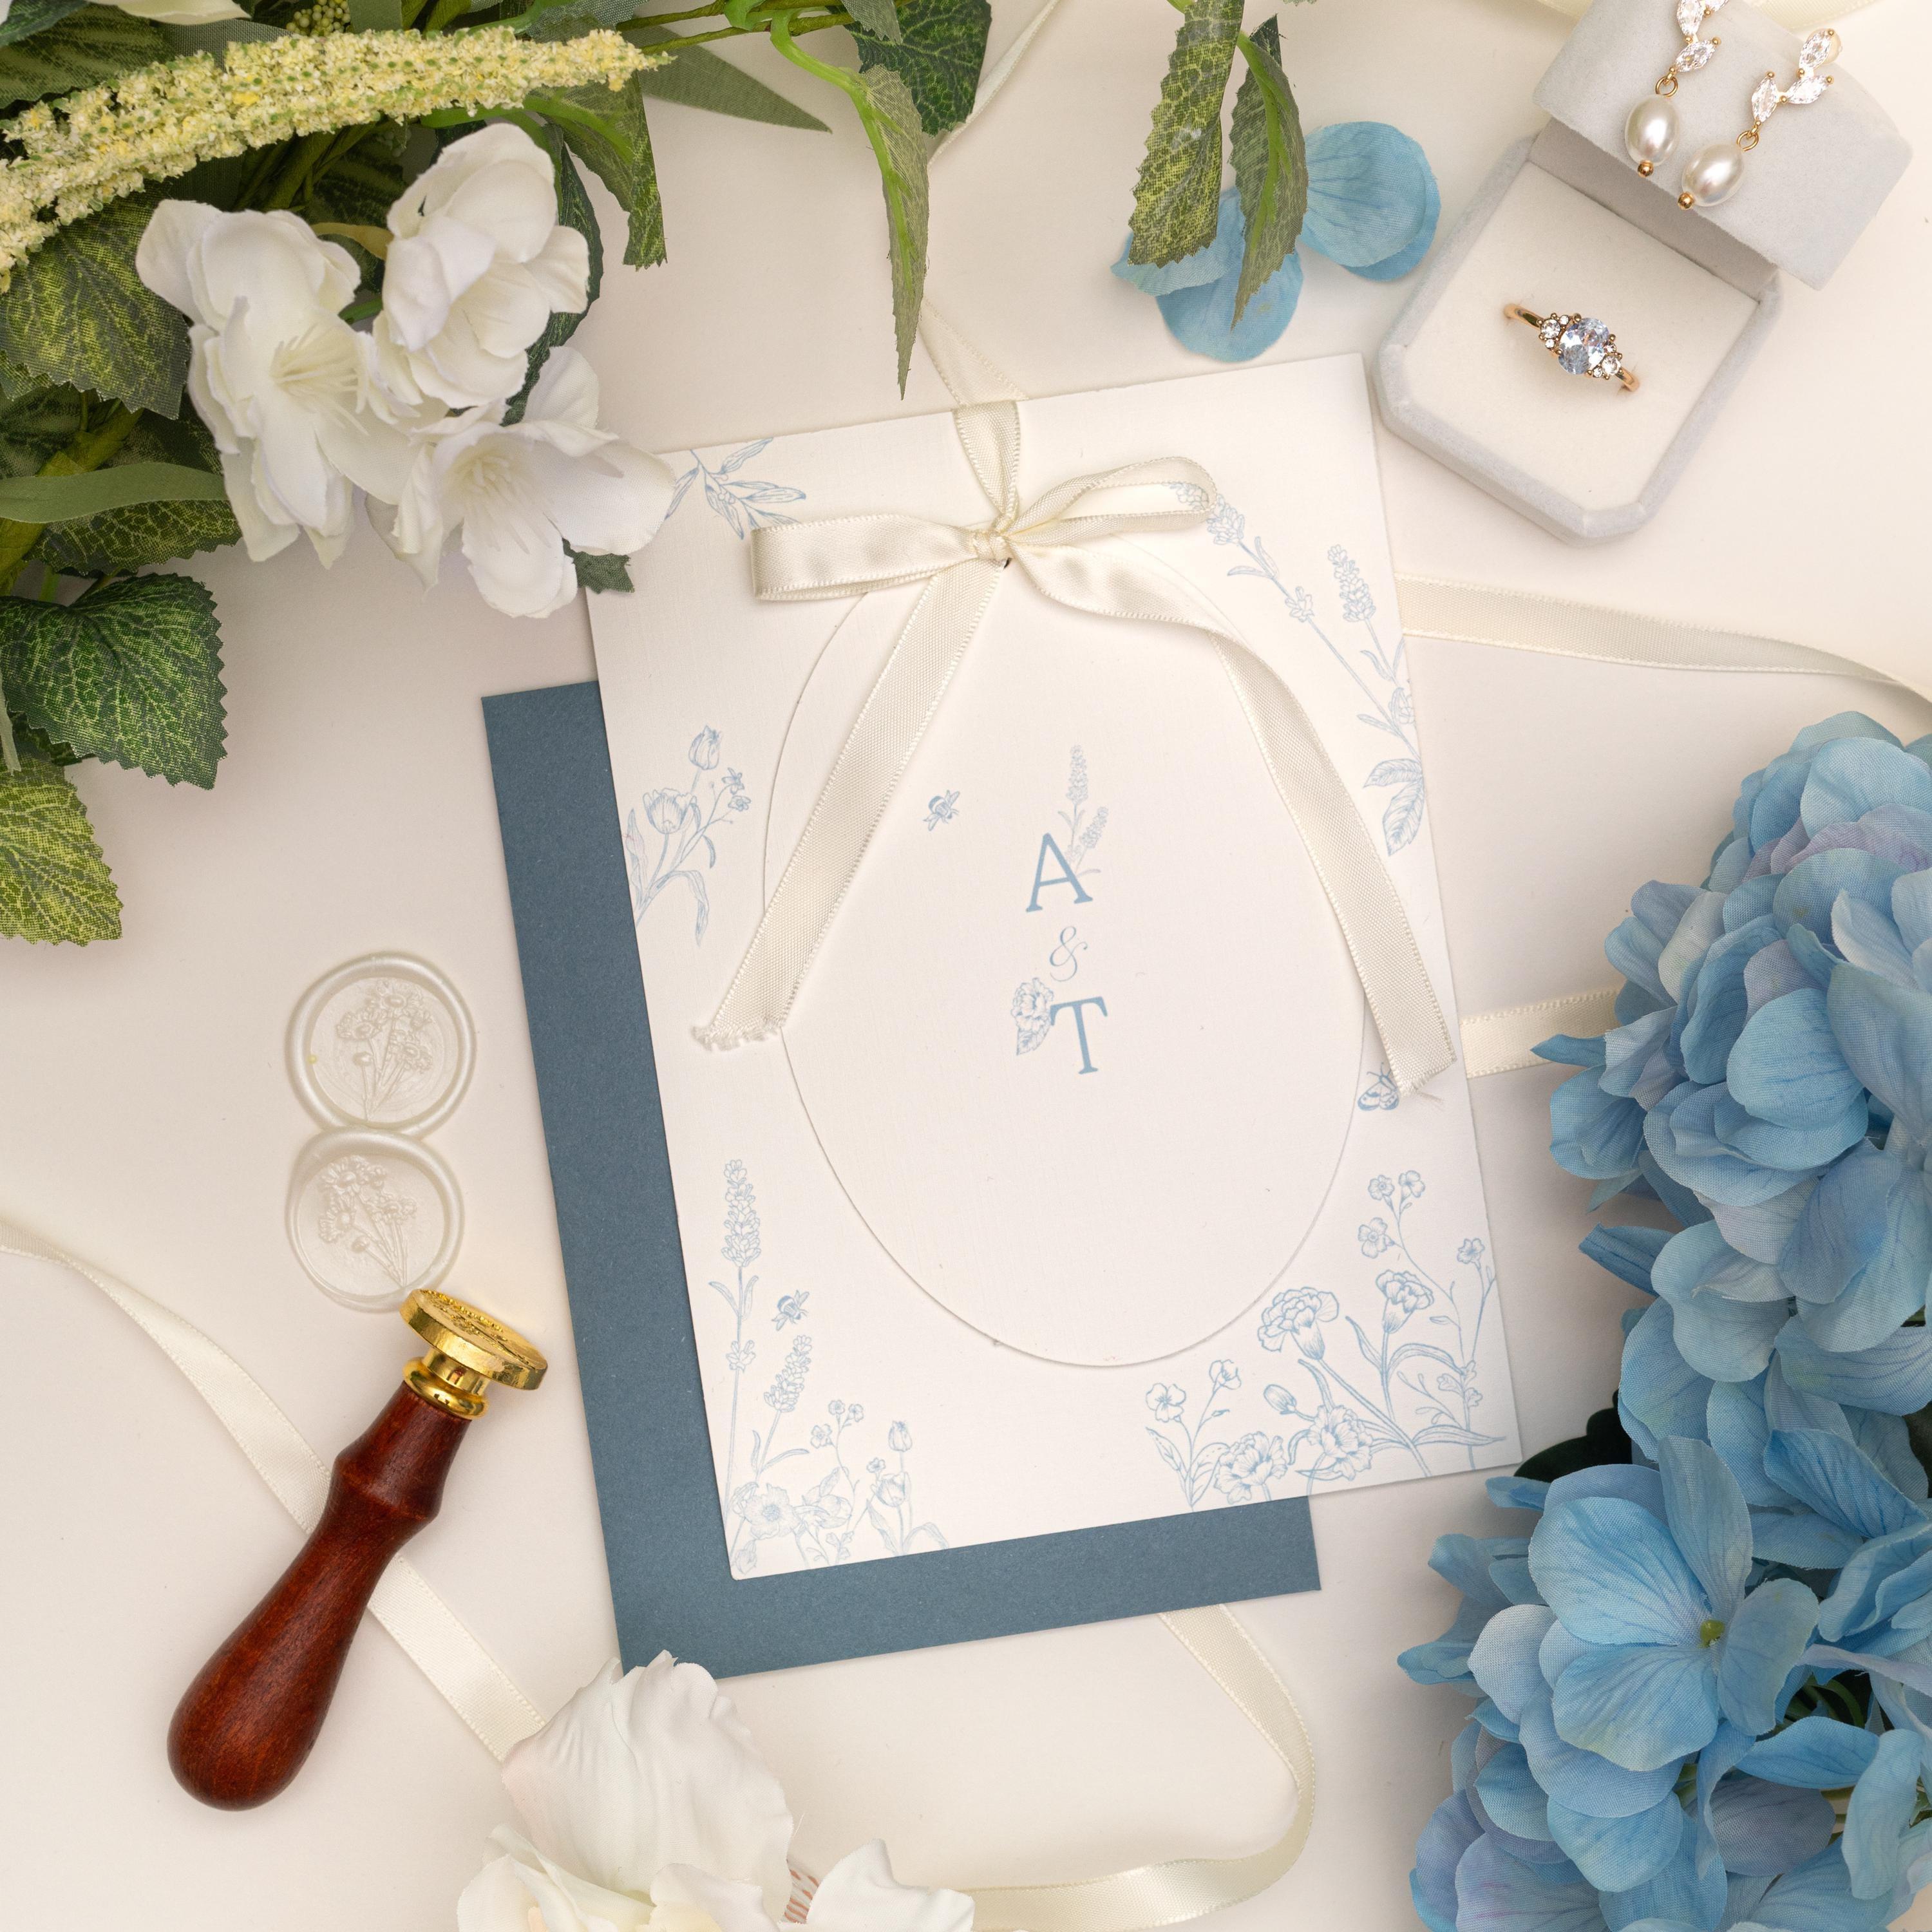
Cut every piece of ribbon to the same length before you start: wrap one around a finished stack, tie the bow, trim it until you like it, then untie it and use it as your template. A bow on a 5×7 invitation usually needs roughly 50–70 cm, depending on the ribbon width and whether it wraps the whole stack.
- Wrapped ribbon: wrap it around the stack, cross it at the back, bring both ends to the front and tie a flat bow or a simple knot.
- Threaded bow: if the invitation has punched holes, thread the ribbon through from the back, tie the bow on the front and keep the loops even.
- Under a seal: tie a single flat knot rather than a bow and press the wax seal over it. It’s the flattest option for posting.
- Finish the ends with a sharp diagonal cut or a small V (a fishtail) so they don’t fray.
Keep bows flat and tight. A loose, puffy bow looks lovely on the table but gets crushed in the envelope and adds thickness. More on choosing between satin and silk ribbon in our wax seal, vellum and ribbon guide.
With a belly band, twine or clip
A belly band is a strip of paper, vellum or ribbon wrapped around the middle of the stack. Wrap it snugly but not so tight it bends the cards, and fix the ends at the back with a small dot of double-sided tape (never on vellum where it will show), or close it at the front with a seal. Twine works like ribbon: two or three loops around the stack, knotted at the front. A clip is the quickest of all: slide it over the top edge so it catches every card, keeping it centred or neatly to one side on every invitation.
Applying wax seals
With self-adhesive wax seals, peel the backing, position the seal over the knot or join, and press firmly for a few seconds. With traditional wax, melt the wax onto the spot (a silicone mat underneath catches drips), wait a moment, press the stamp in squarely, hold it for a few seconds and lift it straight up. Let poured seals set fully before stacking anything on top. Whichever you use, do a few practice seals on scrap card first.
Keeping seals inside the envelope, on the vellum or ribbon, protects them in the post. Our wax seal guide explains why seals on the outside are riskier.
Adding RSVP cards and enclosure cards
Place enclosure cards in size order on top of the invitation. For the RSVP, either tuck the card under the flap of its own envelope, printed side facing up, or slip it inside the envelope. Tucking it under the flap is neater, because guests see both at once and are less likely to lose the card. Never seal the RSVP envelope: your guest needs to put the card back in.
How to put wedding invitations in the envelope
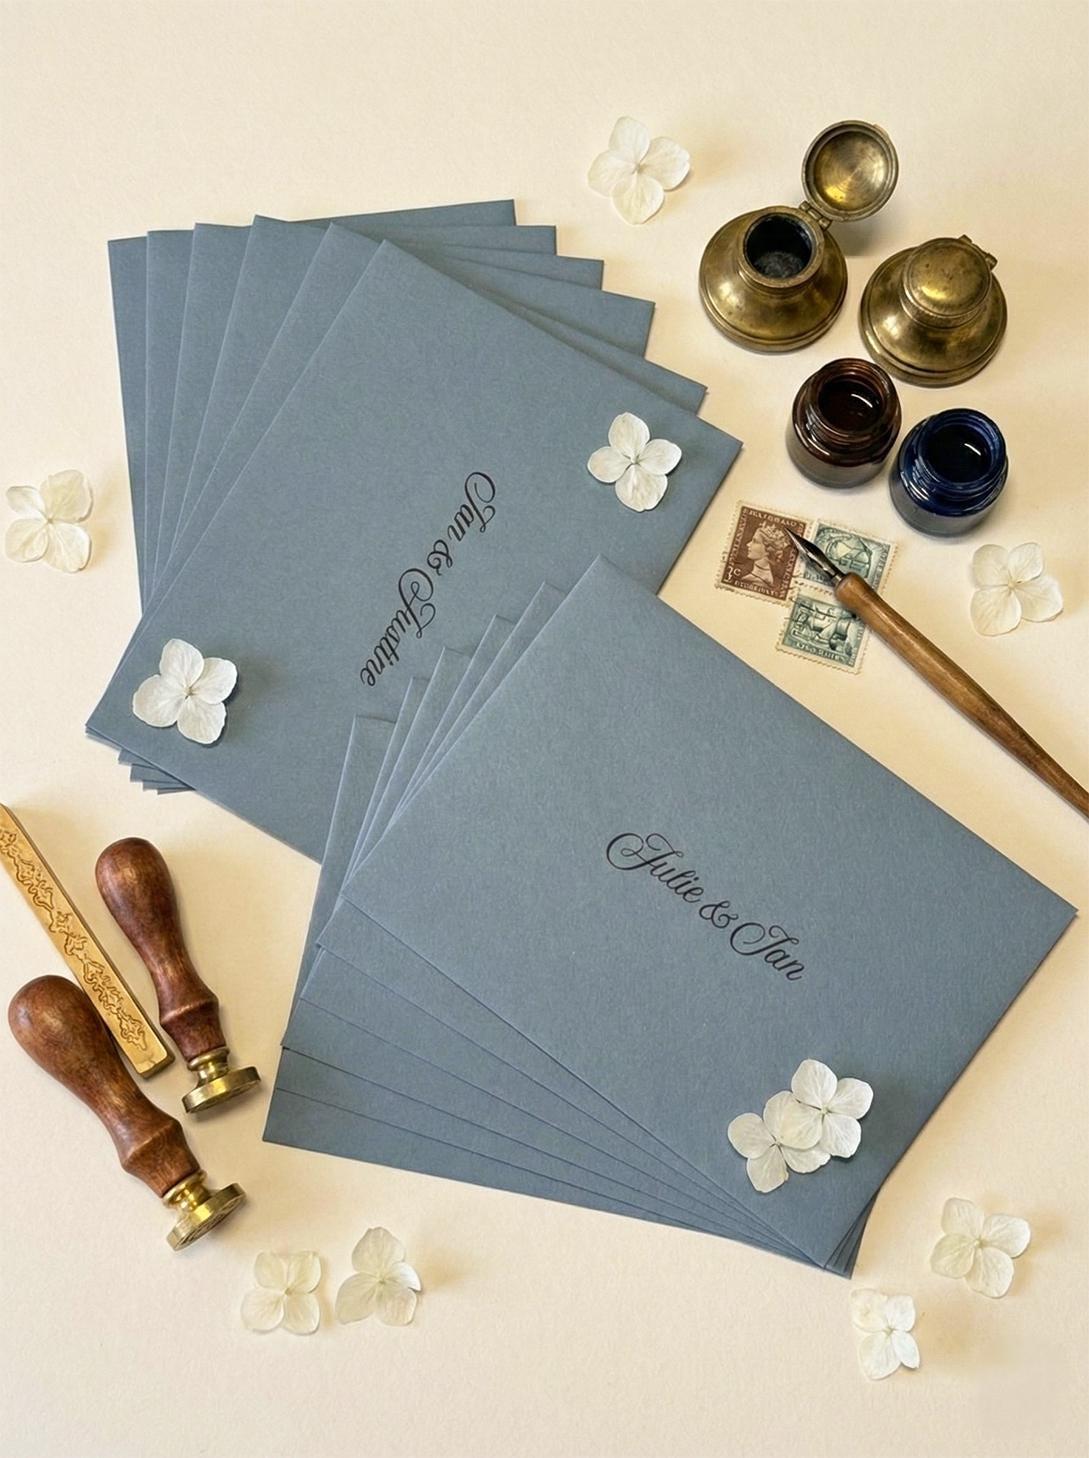
The aim is for the invitation to face your guest the moment they open the envelope. Turn the envelope over so the open flap is facing you, then slide the stack in with the printed fronts facing you too. When your guest lifts the flap and draws the cards out, the front of the invitation is the first thing they see. A portrait 5×7 invitation goes into a landscape envelope sideways; it doesn’t matter which way round, as long as every invitation goes in the same way.
Ease the stack in gently so the ribbon or seal doesn’t catch on the envelope edge. If it’s a tight fit, the envelope is too small for the finished thickness, so check before you assemble the rest.
Assembling wedding invitations with an inner envelope
Inner envelopes are rare in the UK, and most couples don’t need them. If you are using one, the stack goes into the unsealed inner envelope with the fronts facing its flap, and the inner envelope goes into the outer one with the guests’ names facing the back of the outer envelope, so they’re seen as soon as it’s opened. Our addressing guide explains what to write on each.
Sealing and posting your invitations
To seal gummed envelopes, run a barely damp sponge along the gum, press the flap down from the centre outwards and hold it for a few seconds. Self-seal envelopes just need the strip removed and a firm press. Check the corners are stuck down so nothing catches in the post.
Before you buy stamps, take one finished invitation to the Post Office to be measured and weighed. A 5×7 invitation is usually a Letter, but with a wax seal, ribbon and inserts it can go over 5 mm thick and become a Large Letter. Our cost guide explains postage, and our timeline covers when to post them.
Addressing is the last job. We can print your guests’ names and addresses on the envelopes in the same font as your invitations, or see our guide to addressing wedding invitations if you’re writing them yourself.
How long does it take to assemble wedding invitations?
As rough guidance, once you’ve found your rhythm (the first few always take longer):
| Invitation | About per invitation | 50 invitations |
|---|---|---|
| Invitation and envelope only | 1–2 minutes | 1–2 hours |
| Invitation, details and RSVP cards with a clip | 2–4 minutes | 2–3 hours |
| Plus a ribbon bow | 4–6 minutes | 3–5 hours |
| Vellum jacket, twine and wax seal | 6–10 minutes | 5–8 hours |
Add addressing and stamping on top. For a fully finished suite, that’s a weekend, or several evenings with a friend and a film on. If that sounds like more than you have time for, that’s exactly what the assembled option is for.
Common mistakes to avoid
- Buying stamps before weighing a finished invitation.
- Cutting ribbon by eye, so every bow is a different size.
- Puffy bows that get crushed or snag in the envelope.
- Stacking poured wax seals before they’ve fully set.
- Glue or tape on vellum, where it shows through.
- Forgetting to add the RSVP card, or sealing the RSVP envelope.
- Putting invitations in the envelope facing different ways.
- Leaving it until the week you need to post them. Allow time for a re-order if something’s missing.
Prefer us to assemble them?
Every one of our invitations is handmade in our UK studio, and we’re more than happy to assemble them for you: cards stacked, ribbon tied, vellum wrapped and seals in place, so what’s left for you is addressing and posting. Just let us know when you send over your details. Prefer to do it yourself? We’ll send the pieces separately, ready for you to enjoy putting together. Either way, a sample pack shows you exactly how the finished suite opens.
Frequently asked questions
What order do wedding invitations go in?
+
Largest to smallest, all facing up: the invitation at the back, then any details or enclosure cards, then the RSVP card and its envelope at the front. Some stationers put the invitation on top instead; either is fine as long as every invitation is the same.
Does the RSVP card go in front of the invitation?
+
In a stacked suite, yes. As the smallest card it sits at the front, either tucked under the flap of its own envelope or slipped inside it, so guests find it straight away. Never seal the RSVP envelope.
How do you put a wedding invitation in the envelope?
+
Slide the stack in with the printed fronts facing the flap side of the envelope, so that when your guest lifts the flap and draws it out, the front of the invitation is the first thing they see. Put every invitation in the same way.
How do you assemble wedding invitations with vellum?
+
Place the squared stack in the centre of the vellum, fold the sides in so the edges meet at the front, then hold it closed with twine, ribbon or a belly band and add a wax seal where the edges meet. Avoid glue, which shows through vellum.
How much ribbon do I need for each wedding invitation?
+
Roughly 50–70 cm for a bow around a 5×7 invitation, depending on the ribbon width and whether it wraps the whole stack. Tie one, trim it to the length you like, then use it as a template for the rest.
Do you need an inner envelope for wedding invitations in the UK?
+
No. Inner envelopes are mainly an American tradition and rare in the UK. One envelope with every invited guest’s name on it does the job; a vellum wrap or ribbon gives a similar sense of unwrapping.
How long does it take to assemble wedding invitations?
+
As rough guidance, 1–2 minutes each for an invitation and envelope, and 6–10 minutes for a suite with a vellum jacket, twine and wax seal. For 50 fully finished invitations, allow a weekend or several evenings, plus addressing.
Can I have my wedding invitations assembled for me?
+
Yes. Our invitations can arrive assembled, with the cards stacked, ribbon tied and seals in place, or as separate pieces if you’d like to put them together yourself. Just let us know when you send over your details.
More from the Journal
8 min read
Evening Wedding Invitation Wording (UK): Examples, Etiquette and What to Write
Evening wedding invitation wording for UK weddings: formal, relaxed and fun examples, what to write, timings, and RSVPs for evening guests.
6 min read
How to Word No Children at a Wedding: Polite Adults-Only Wording (UK)
How to word no children at a wedding politely: where to say it, adults-only wording for invitations, details cards and websites, and what to say if asked.
7 min read
RSVP Wording for Weddings (UK): Examples for RSVP Cards, Wedding Websites and Polite Reminders
RSVP wording for weddings: UK examples for RSVP cards, menu choices, dietary needs, plus ones, song requests and QR codes, and how to chase late replies.
7 min read
How Many Wedding Invitations Do I Need? A Step-by-Step Calculator for 30 to 200 Guests
How many wedding invitations do you need? Count households, not guests: a step-by-step method, tables for 30–200 guests, spares, evening invites and RSVPs.
8 min read
Dusty Blue Wedding Ideas: Colour Palettes, Decor and Stationery for a Dusty Blue Wedding Theme
Dusty blue wedding ideas: colour palettes that pair with dusty blue, flowers, table decor, bridesmaids, and dusty blue wedding invitations, menus and envelopes.
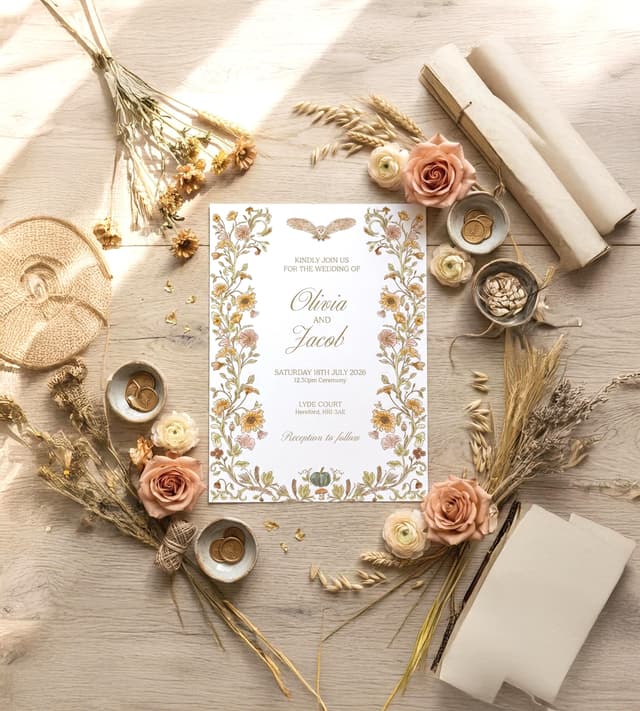
6 min read
Autumn Wedding Stationery Ideas: Invitations, Colours and Table Stationery for a UK Autumn Wedding
Autumn wedding stationery ideas: autumn colour palettes, invitation motifs, envelope colours, wax seals, when to send invitations, and ideas for barn weddings.
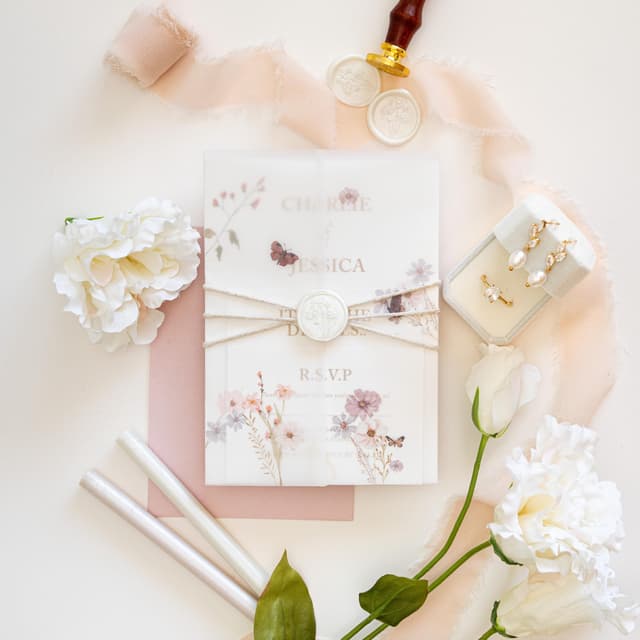
6 min read
Wax Seal Wedding Invitations, Vellum and Ribbon: The Finishing Touches Explained
Wax seal wedding invitations, vellum wraps and ribbon explained: self-adhesive vs traditional wax, seal colours, satin vs silk ribbon and UK postage.
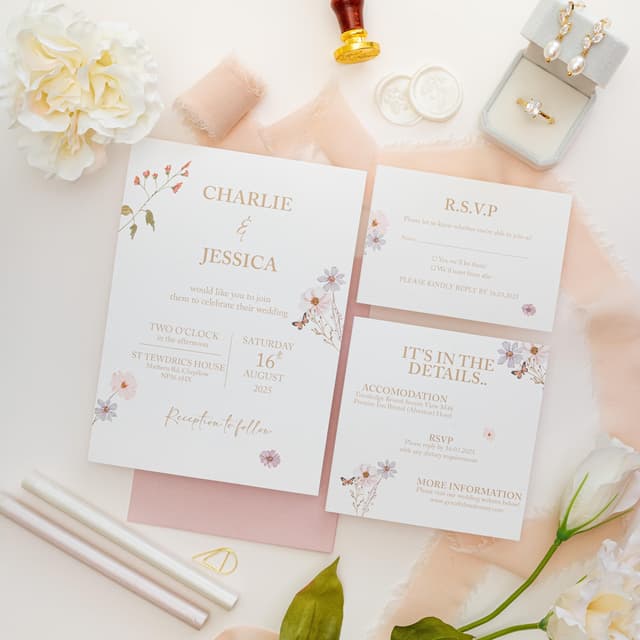
6 min read
Wedding Invitation Samples: Why to Order Them First and What to Look For in a Sample Pack
Why order wedding invitation samples first: what’s in a sample pack, standard vs personalised samples, how to judge one, and when to order.
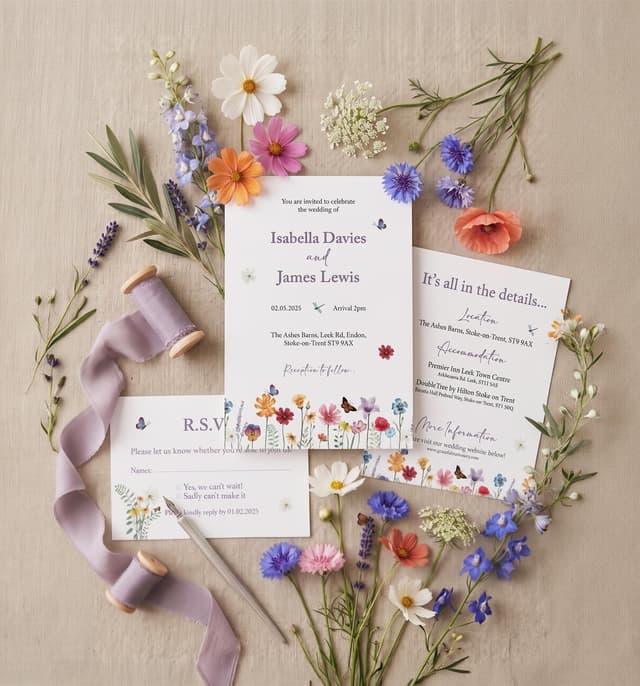
7 min read
Bespoke vs Semi-Custom Wedding Stationery: Which Is Right for You?
Bespoke wedding stationery or semi-custom? An honest UK comparison of cost, time, proofs and uniqueness, what you can change, and questions to ask a stationer.
8 min read
Destination Wedding Invitations (UK): Timeline, What to Include and Wording Examples
Destination wedding invitations for UK couples marrying abroad: when to send them, what to include, copyable wording examples, design ideas and posting tips.
7 min read
Wedding Place Card Ideas: Styles, Sizes, Wording and How to Lay Them Out
Wedding place card ideas for UK couples: flat, tent and named menu styles, meal markers, sizes, what to write, children’s cards and how to lay them out.
9 min read
How to Address Wedding Invitations (UK): Envelope Etiquette for Couples, Families and Plus Ones
How to address wedding invitations in the UK, with exact envelope examples for married and unmarried couples, families, plus ones, titles and evening guests.
6 min read
How Much Do Wedding Invitations Cost in the UK? Real Prices and Worked Examples for 100 Guests
How much do wedding invitations cost in the UK? Real prices per invite and per guest, costed examples for 100, 150 and 200 guests, postage and ways to save.
7 min read
Wedding Menu Wording Ideas: Example Menus, Dietary Symbols and Menu Card Ideas (UK)
Wedding menu wording examples to copy: three-course, sharing, alternate drop, choice, evening and drinks menus, plus dietary symbols, sizes and place card ideas.
8 min read
Wedding Table Name Ideas: 17 Themes and 200+ Names to Use Instead of Numbers
Over 200 wedding table name ideas instead of numbers: wildflowers, UK places, travels, love words, songs, films, drinks and more, plus how to choose them.
9 min read
Wedding Seating Plan Ideas (UK): How to Plan Who Sits Where, Top Table Etiquette and Board Layouts
Wedding seating plan ideas for UK couples: how to plan who sits where, top table etiquette, round vs long tables, alphabetical vs by-table boards and sizes.
10 min read
How to Ask for Money as a Wedding Gift: Polite Wording and Poems (UK)
How to politely ask for money as a wedding gift in the UK: where to put it, copy-and-paste wording, short and funny poems, plus no gifts and charity wording.
6 min read
What to Put on a Wedding Details Card: Wording Examples, Size and a Full Example
What to put on a wedding details card: accommodation, travel, timings, dress code, gift list, RSVP and QR code, plus wording examples, a full example and sizes.
8 min read
Save the Date Wording (UK): What to Write, With 25+ Examples
UK save the date wording examples: classic, relaxed, funny, destination and evening guests, plus what to put on a save the date, who gets one and when to send it.
7 min read
Wedding Stationery Trends 2027: The Invitations, Colours and Details Couples Are Choosing
Wedding stationery trends 2027 from our UK studio: wildflowers, dusty blue toile, ovals, satin bows, wax seals, vellum, named menus and 2027 colour schemes.
9 min read
What to Write in a Wedding Thank You Card: UK Wording Examples for Every Guest
What to write in a wedding thank you card: UK wording examples for money, gifts, parents, guests who didn’t attend, no gift, and when to send them.
5 min read
How to Choose Wedding Invitations: A UK Guide to Style, Size, Paper and Finishing Touches
How to choose wedding invitations in the UK: matching the style to your venue, picking colours, standard invitation sizes (5×7, A5 or A6), paper weight, wax seals, vellum and ribbon, and how to check your proof.
5 min read
The Wedding Stationery Checklist (UK): What You Need, What’s Optional and How Many to Order
A complete UK wedding stationery checklist: what you really need, what’s optional on the day, what to skip, and exactly how many invitations, RSVPs, menus and place cards to order, with a worked example.
5 min read
Wedding Invitation Wording Examples (UK): Formal, Relaxed & Everything Between
Copy-and-paste UK wedding invitation wording for every situation: couples hosting, parents hosting, church and civil ceremonies, evening receptions, destination weddings, plus RSVP and details card wording.
3 min read
When to Send Wedding Invitations in the UK (Plus Save the Dates & RSVPs)
When to send save the dates, wedding invitations and evening invitations in the UK, when to set your RSVP date, and when to order your stationery, with a month-by-month timeline and worked examples.
3 min read
Wildflower Wedding Stationery Ideas: From Invitations to the Table
Wildflower wedding stationery ideas for a meadow-inspired day: colour palettes, envelope pairings, matching menus, table numbers and place cards, seasonal UK flowers and finishing touches.